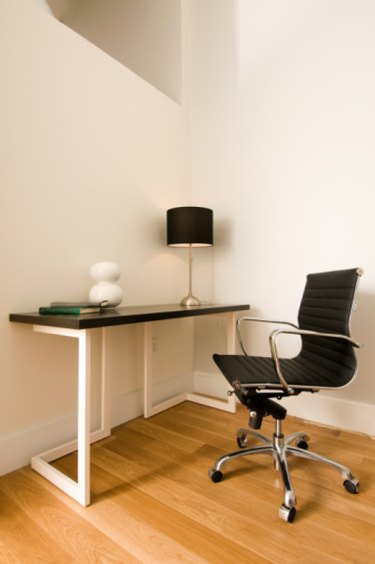
Lampshades come in a wide variety of shapes, colors and sizes and act as the focal point of rooms when placed on tables or desks. Whether your lampshade is from IKEA or another retailer, the process for assembly is the same. The two primary lampshades available will attach to a lamp with clips or with a screwed-on harp-shaped assembly.
Clip Assembly
Video of the Day
Step 1
Turn off the lamp and unplug it to install the lampshade safely.
Video of the Day
Step 2
Find the wire loops on the shade. These will be in the center of the shade where the piece connects to the lamp.
Step 3
Squeeze the wire loops until they separate. Hold the loops apart with your fingers. This allows it to slip over the bulb. Slip the loops over the bulb and release. The spring action of the clips holds the shade in place.
Harp Assembly
Step 1
Turn off the lamp. Unplug the lamp from the outlet and make certain the bulb is cool before proceeding with assembly.
Step 2
Remove the lightbulb from the lamp socket and set it to the side.
Step 3
Slide the shade over the stand. When the spokes from the outside edges are aligned with the area of the bulb, align the hole for the wing nut included with the lamp and the nut assembly. Screw the nut in place with your hands. The lampshade is now in place. Replace the bulb, and the assembly is complete.