Things You'll Need
Finials
4 wood to machine double-ended screws
4 nuts
8 washers
Drill
Screwdriver
Crescent wrench
4 PVC end caps
Epoxy or other metal to plastic glue
Hammer
Towel
Small block of wood
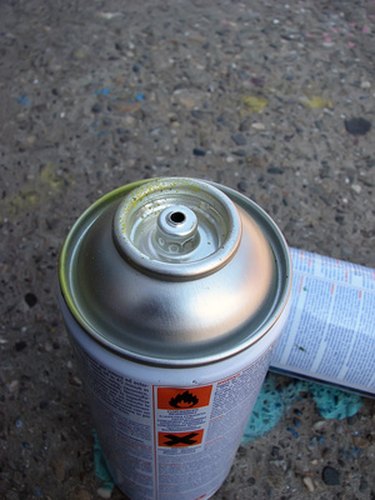
Spray paint

Give an old iron bed renewed life with a new set of finials. Those ornate knobs that adorn the posts of iron beds are often the first casualties of pillow fights or moving day. With a little imagination and ingenuity, you can replace finials, but think about ditching the ho-hum plain one for an ornate or whimsical one to make add to the bed's decor. If you are not particularly concerned about authenticity, consider decorative curtain rod finials, wooden toys, toy blocks, baseballs, drawer pulls or just about anything that strikes your fancy.
Step 1

Spray paint the bed frame in the color of your choice if the finish is worn or you want a new look. Prepare it first by sanding or filing sharp-edged nicks. Measure the diameter of the bedposts and purchase four PVC end caps to fit. Test the fit by pushing the cap 1/2 inch onto the bedpost. Remove the cap.
Video of the Day
Step 2
Mark the exact center of the end caps. Drill a hole just large enough for the machine end of the screw to fit through. Spray paint the caps to match the bed posts. Allow caps to dry completely.
Step 3
Prepare the finial by drilling a small pilot hole and inserting the wood screw end of the double-ended screw. Screw it in until the finial is at the edge of the machine screw threads. Pliers help here, or put a nut on the other end and use the crescent wrench as a handle.
Step 4
Secure the finial to the end cap using washers and nuts. You may need to add more washers for a snug fit. If they will show, spray paint the washers before attaching them.
Step 5
Skip the epoxy or glue if the caps will fit tightly without it; otherwise, mix and apply epoxy as directed on package. Slip the caps over the bedposts. Use a hammer and a small block of wood wrapped in a towel to tap it firmly into place. Immediately wipe off any excess epoxy. Step back and admire your handiwork quickly before they inevitably turn into a place to hang clothes.
Tip
You can find quick tutorials on the Internet that show you how to find the exact center of a circle.
If the cap is a tight fit, test fit only half and inch or so on the bedpost, otherwise you can spend hours working it back off the post.
Leave off the glue if the caps fit tightly and you think you might want to change them out one day.
Warning
If your bed is a valuable antique, replace the finials with authentic pieces. This may require a professional.
Check with an antiques expert before you attempt to refinish the bed because doing so may diminish its value.
Video of the Day