Things You'll Need
Expandable brace
Pliers
U-bracket with bolts, washers and nuts
Metal electrical junction box
Socket set
Work gloves
Safety glasses
Assistant (optional)

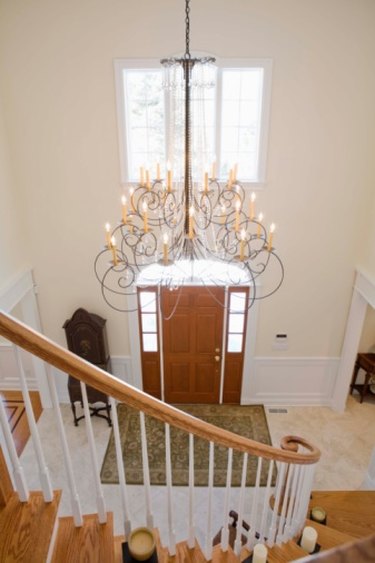
Large ceiling fixtures such as fans and chandeliers add to the decor of a room by drawing attention to a certain area. These fixtures are far heavier than normal ceiling-mounted lights and decorations. This extra weight poses problems during installation and a hazard to anyone in the room if an improperly hung fixture is located overhead. Add a brace to the existing structure of the ceiling to support the extra weight and make the room safe. Turn off the power and remove the old electrical junction box in the ceiling, and you will be ready to install your brace.
Step 1
Slide the expandable brace through the existing hole in your ceiling. Hold the brace parallel to the ceiling and perpendicular to the joists.
Video of the Day
Step 2
Twist the expansion fitting on the brace to extend the arms and snug the brace against the joists. Turn the fitting a quarter-turn with your pliers to lock the brace in place.
Step 3
Lay the U-bracket on top of the brace. Center the bracket over the hole in the ceiling.
Step 4
Drop a bolt down through each of the retaining holes in the arms of the U-bracket. Gently lift the metal electrical junction box into the hole. Pull the tips of the bolts into the box as it is raised into place.
Step 5
Slide a washer onto each bolt and twist on a nut. Snug the nuts with the appropriate socket from your set.
Tip
Have an assistant go into the attic and hold the U-bracket in place while you install the box to make the process easier.
Pop the plug out of one of the wiring holes in the back of the box and pull the wires through as you lift the box.
Warning
Go to the breaker box and turn off the electricity to the work area before beginning this or any electrical project.
Work gloves and safety glasses are required when using hand tools.
Video of the Day