Things You'll Need
Cardboard
Scissors
Ladder
Stud finder
Screw eyes
Chains
Locking links
Level
Bolt cutter

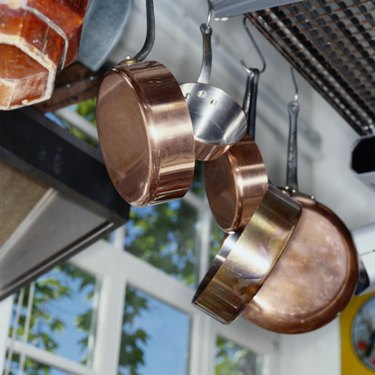
Overhead pot racks are a good way to store pots and pans if your kitchen cabinet space is limited. These racks work particularly well in kitchens with tall or vaulted ceilings, since they allow these often unused spaces to be utilized. Mounting a pot rack to a ceiling does require a little bit of investigation: You will need to mount the support hooks into ceiling joists so that the weight of the items on the rack do not pull the hooks out of the ceiling.
Step 1
Measure the size of the pot rack at its mounting point locations. Cut out a piece of cardboard to this size with the mounting point locations clearly marked.
Video of the Day
Step 2
Place a tall ladder under the area where you want to mount the pot rack. Position the cardboard flat against the ceiling and mark the mounting position locations in pencil. Move a stud finder around or near the locations of each mark and draw a small X where each ceiling joist is found.
Step 3
Adjust the location of the pot rack by moving the cardboard so that the mounting positions are over the ceiling joists. Mark your corrected location.
Step 4
Screw heavy-duty screw eyes into the ceiling joists at the mounting position locations. Turn the screw eyes until they are fully seated in the joist and tight to the ceiling.
Step 5
Attach a lockable link to each screw eye. This link has a screw closure that allows you to attach the link to both the screw eye and chain before closing the link.
Step 6
Hang the pot rack by attaching the chains to the lockable link. Use a level on the top of the pot rack to adjust the level of the rack. Once the rack is level, screw the locks closed on the links and clip off any extra chain.
Tip
Pot racks that are not securely mounted into studs or ceiling joists can pull loose and come down on people working beneath the rack.
Video of the Day