Things You'll Need
Candy paint
Clear coat
Paint stirrer
Paint sprayer

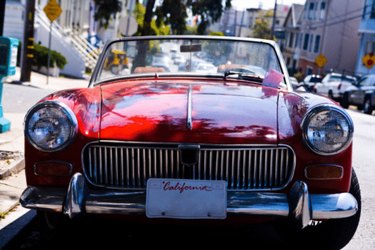
Candy paint is most commonly used in custom automotive projects. It is highly concentrated and gets its name from the brightly colored candies it resembles. Because candy paint is so highly concentrated, you must mix it with a transparent paint called clear coat before using it. Mixing it with clear coat also allows some elements of the base coat of paint to show through, similar to the way that faux-finish painting works. Candy paints are commonly applied to a silver base coat to create a metallic appearance.
Step 1
Measure out 2 ounces of candy paint and pour it into a small plastic container. This is the maximum amount of candy paint you should use for every 1 quart of clear coat. Check the directions on the candy paint's packaging for information on concentration levels. About 1 gallon of the mixed product is needed for an average, mid-sized sedan, but it is better to have too much than not enough, particularly when making a custom color, so mix between 1.5 and 2 gallons for your project.
Video of the Day
Step 2
Add a few drops of the candy paint to the clear coat. Mix the paint into the clear coat with a small paint stirrer. Stir well until the mixture is one solid color with no streaks of clear coat.
Step 3
Look at the mixture and decide if it is the color you want. If you want a deeper hue, add a few more drops of the candy paint and stir again. Repeat the process until you are satisfied with the color.
Step 4
Pour a small amount of the mixture into a paint sprayer as directed by the sprayer's manual. Cover the mixture so it doesn't dry out while you test it. Apply a layer of the paint to a small part of your project and allow it to dry. If you are happy with the color, pour the rest of the mixture into the sprayer and complete the project. If not, add more paint or clear coat and mix until you are satisfied with the finished color.
Video of the Day