Things You'll Need
Self-adhesive vapor barrier fabric
Framing studs
Circular saw
Hammer drill with concrete screws
Rigid foam insulation
Drywall panels
Drywall screw gun
Straightedge
Utility knife
6-inch drywall knife
10-inch drywall knife
Joint compound
Drywall tape
Pole sander

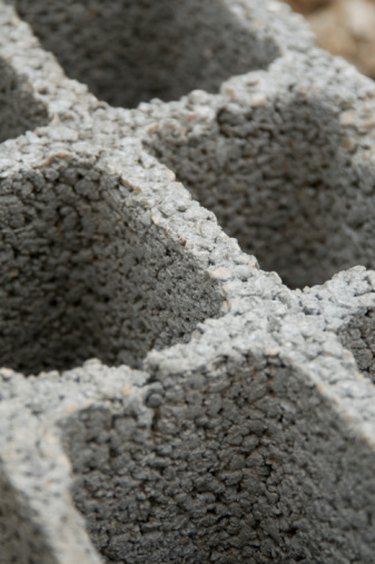
Cinder blocks, made from cast concrete and cement, form high-density masonry blocks that are suitable for building basement walls. During construction, the contractor will fill the holes in the blocks with wet concrete to stabilize the blocks. Finishing a cinder block basement is much like finishing a poured concrete basement. You'll stud out a wall, insulate and install wallboard for a finished look.
Seal, Frame and Insulate
Step 1
Cut self-adhesive vapor barrier fabric to fit over the cinder block wall and stick in place on the blocks. Butt the seams of the fabric, but do not overlap.
Video of the Day
Step 2
Install a bottom stud, horizontally, 1/2 inch above the basement floor. Position the wide part of the stud flush with the cinder blocks and insert a concrete screw, every 16 inches, with a hammer drill.
Step 3
Install vertical framing studs 24 inches apart using concrete screws. Leave a 1-inch gap between the bottom horizontal stud and the vertical studs. This gap allows you to run wiring, if desired.
Step 4
Cut rigid foam insulation panels to fit snugly between the vertical wall studs and push them into place. It's better to cut the panels about 1/8 inch larger than the wall spaces so the pressure of the framing studs holds them in place.
Install Drywall Panels
Step 1
Position a drywall panel horizontally in the top corner of the wall, pushing it as high as it will go against the ceiling joists.
Step 2
Attach the panel to the framing studs with a drywall screw gun, inserting one screw every 12 inches into a framing stud. The far end of the panel must "break" in the middle of a framing stud. If it's too long, cut it to fit with a straightedge and a utility knife.
Step 3
Install the rest of the upper row of drywall in the same manner, and then install the lower row, pushing the panels as snugly as possible against the upper row of panels. Cut and fit end pieces, if necessary.
Finish the Wall
Step 1
Cut and stick self-adhesive fiberglass mesh drywall tape over every vertical and horizontal joint between drywall panels, but do not overlap the tape at joint intersections.
Step 2
Apply wet joint compound, pushing it through the mesh tape and into the joints below with a 6-inch taping knife. Switch to a 10-inch taping knife when the joint is full of compound and smooth out the seam, removing excess compound with the knife.
Step 3
Tape all seams in the same manner, and then let the compound dry completely before sanding the wall smooth with a pole sander.
Step 4
Add two more thin coats of wet joint compound over the dry seams with the larger taping knife, and let each one dry before sanding smooth.
Tip
As an alternative to self-adhesive vapor barrier fabric, you can use 15-lb. felt paper and spray masonry adhesive to hold it in place.
Warning
Don’t place the bottom framing stud on the basement floor. Keeping it up 1/2 inch reduces the risk of moisture from the floor coming into contact with the wood.
Repair any basement leaks before you finish the walls.
Video of the Day