Things You'll Need
Screwdriver
Pliers
Replacement socket
New fuse

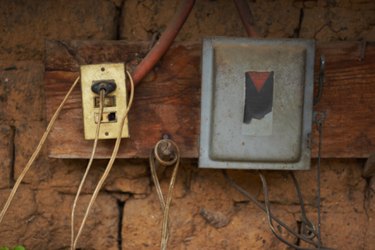
Modern electrical systems have replaced fuse boxes with circuit breaker panels, which serve the same essential purpose. However, older homes and buildings can frequently be found that still feature old fashioned fuse boxes. Other than the hassle of needing to replace fuses every time a circuit is overheated or overloaded, the only other maintenance typically required is the occasional replacement of a fuse socket.
Step 1
Turn off the main power to the fuse box. This is typically located in a separate box near the fuse panel. Pull the large lever switch to the down position to turn it off. Test a few lights to make sure the power is off before continuing with your repair.
Video of the Day
Step 2
Remove the fuse from the affected socket, which may be burned, or look melted around the edges. Use pliers if required to twist the fuse out counterclockwise.
Step 3
Locate the single small slotted screw in the bottom of the socket. If the socket is charred, use a flashlight for better visibility. Use a standard screwdriver to remove this screw, turning it counterclockwise until it drops from its hole into the socket. Keep the screw and reuse it.
Step 4
Pull the socket out of the panel with pliers, to expose the wires behind. Pull the socket our far enough to twist it around to see the rear of it. Use the screwdriver to loosen the two screws holding the wires to the back of the socket.
Step 5
Wrap the wires around the screws of the new socket. Push the wires back into the hole and fit the socket into place. Insert the mounting screw into the hole in the socket and turn it clockwise to tighten it.
Step 6
Replace the fuse with a new fuse and restore the main power. Test the light, or outlet connected to the new socket to ensure proper operation. If the fuse pops or the problem persists, consult an electrician to ensure proper repairs are made to maintain safety.
Video of the Day