Things You'll Need
Heavy book or telephone book
White construction paper or plain copy paper
Assorted flowers that press well
Vase
Sharp scissors
Cardboard or piece of wood
Bricks or encyclopedias
Tweezers or soft brush (optional)

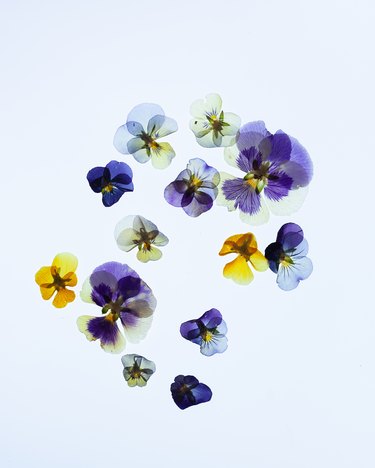
Preserving flower petals by drying them in books is called pressing. This is an effective way to preserve the flowers for sentimental reasons or to use them in crafts that require the flowers to be flat. Flowers that press well with this preservation method range from asters and chrysanthemums to dahlias, pansies and zinnias. Basically, any flower that looks attractive when flattened is acceptable for this method. Pressing is an excellent way to dry flowers for decoupage projects, paperweights or shadowboxes.
Step 1: Choose Flowers That Press Well
Pick flowers to press that do not have any blemishes. Otherwise, the blemish shows once the flower is dried.
Video of the Day
Step 2: Put the Flowers in Water
Place the flowers in a vase of water until you are ready to press them. This prevents unnecessary wilting.
Step 3: Cut the Stems
Cut the stem directly behind the flower head with a pair of sharp scissors. Pluck the individual petals off the flower if you want to dry them separately to use in a craft project.
Step 4: Place the Flowers Between the Pages
Lay the flower head or petals in between the pages of the book; the closer you put them to the fold of the book, the tighter the compression is on the flowers. If you don't have a telephone book or a book with unglazed paper, place the petals in between two sheets of white construction or plain copy paper before placing them into the book. The white paper absorbs the moisture in the flowers, preventing mildew and warping the pages in the book.
Step 5: Check the Flowers for Position
Check that no petals are bent unnaturally, since the petals will dry in the same position they are placed. If you are pressing many different flowers, place three or four blossoms on a page. Leave at least 1/8 inch sections, or approximately 10 pages, in between the different pages of pressed flowers.
Step 6: Close the Book
Close the book after positioning the flowers.
Step 7: Add Heavy Objects
Set a heavy object on top of the book or telephone book, such as bricks or an encyclopedia.
Step 8: Check the Progress
Check the progress of the petals after two weeks to see if they appear dry. Sometimes it takes as long as four weeks to dry them completely.
Step 9: Remove the Flowers As Needed
Remove the pressed petals or flower heads when you are ready to use them in a craft project.
Tip
If you don't have a spare telephone book or old book, you can use newspapers. Now viewed as inconvenient, expensive and wasteful, the huge printed telephone directories that many of us grew up with have been discontinued by most modern phone companies.
Glazed paper has a shiny, finished coating and is often seen in magazines or catalogs. It is best not to use this type of paper for pressing flowers, due to the chemicals in the paper. Telephone books, old books and newspapers well for pressing flowers because the paper is unglazed.
Don't allow the flowers to overlap or touch each other.
Lift the flowers gently once they are dry. If they stick to the pages, lift them with a pair of tweezers or with a soft brush.
Start at the back of the book if you are drying many flowers. Work forward to prevent disturbing the flowers in between the pages.
If using white paper between the pages of your book, change the paper, if necessary, to prevent the moisture from damaging the book.
Video of the Day