Things You'll Need
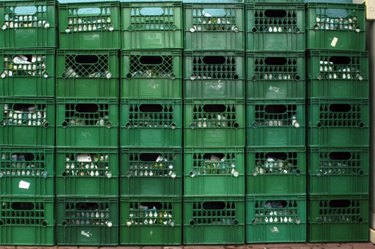
Milk crates
Cable ties
Wire cutters

Milk crates are sturdy, ventilated plastic cubes that are easily available through used goods stores and other second-hand venues. Their regular shape and ability to hold heavy items make them an excellent choice for storing items, and with a little bit of work, they can also be used as shelving. Although it is possible to simply stack the milk crates one on top of the other, you can use cable ties to add another layer of security.
Step 1
Lay three milk crates on the floor, opening to the floor and arranged in a row. Your shelf will be three milk crates tall. Although you can make taller shelves, they are more unwieldy and unsteady.
Video of the Day
Step 2
Use cable ties to put three points of connection between each of the milk crates. Cable ties are strips of plastic with a locking mechanism at one end. When the opposite end is pulled through the locking mechanism, it tightens the loop created and locks the loop into place. Pull the end of the cable tie through the edges of two of the boxes, and then pull it tight.
Step 3
Turn the all of the milk crates to one side, and repeat step 2. Essentially, you are creating a solid tower of milk crates, one on top of the other, and securing them with cable ties.
Step 4
Turn the milk crates to the other side, and repeat step 2. You are placing cable ties on all sides except for the opening.
Step 5
Pick up the tower of milk crates, and set it up on one end.
Step 6
Clip all the long loose ends from the cable ties with wire cutters.
Step 7
Set the shelf up where you want to place your shelving.
Tip
Stack the heaviest things on the bottom of the milk crate shelf for extra stability.
Set the milk crate shelf in a corner to hold it steady.
Video of the Day