Things You'll Need
Clay flower pots
Clear spray paint
Pencil
Acrylic paints, blue, red, cream, black, gold
Hot glue gun
Glue sticks
Craft fur, white and black
Gold buttons
Gold ribbon
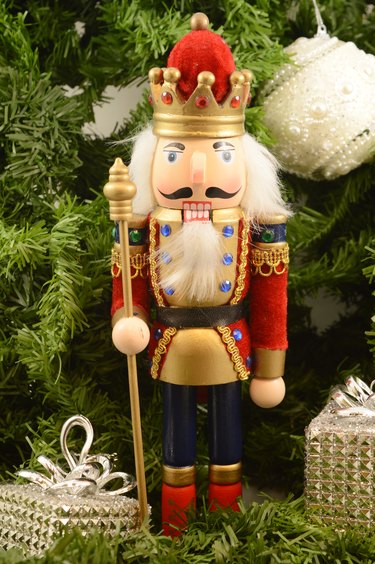
Wooden soldier-shaped nutcrackers originated in England and France in the 14th century. The colorful soldiers are also featured in "The Nutcracker" ballet. They have become a favorite decoration for the Christmas season and are made from a variety of materials. A popular Christmas nutcracker soldier craft is one that is made from clay pots. The number and arrangement of the pots vary, but the stiff, mustached man standing proud in his colorful uniform is the main component of the craft.
Step 1: Spray the Pots With Clear Base Coat Paint
Spray five same-sized pots with clear paint to provide a base coat that will help acrylic paints adhere to the clay. Let the clear paint dry before continuing. Write a number from one to five inside the rim edge of each pot.
Video of the Day
Step 2: Paint Pants, Coat and Hat
Paint pots No. 1 and 2 blue for the soldier's pants. Use red paint for pot No. 3 to make a soldier's coat, cream for a head on pot No. 4 and black for the soldier's hat on pot No. 5.
Step 3: Stack and Glue the Pots
Begin to stack and glue the pots together from the bottom, working from pot No. 1 at the bottom to pot No. 5 at the top. Place pot No. 1 on the work surface with the open end facing downward. Spread hot glue on the closed end of the pot. Press the closed end of pot No. 2 into the glue and hold for 10 to 15 seconds until dry.
Step 4: Glue the Clay Pots Together
Put a bead of glue around the edge of the open end of pot No. 3 - the soldier's coat - and place the glued edge on the open end of pot No. 2. Hold for 10 to 15 seconds.
Step 5: Glue On the Solder's Head
Spread hot glue on the closed end of pot No. 4, the cream-colored one that will be the soldier's head, and press it onto the closed end of pot No. 3. Hold for 10 to 15 seconds before gluing the open end of Pot No. 5 to the open end of Pot No. 4. Again, hold for 10 to 15 seconds until dry.
Step 6: Stand the Soldier Up
Stand the soldier upright, with pot No. 1 at the bottom and No. 5 at the top.
Step 7: Paint the Pants and Boots
Paint a black rim at the very bottom of the stack to form boots. Create a red line down the left and right sides of the pants. Form two pant legs with a black line of paint down the center front and back of blue pot No.1.
Step 8: Paint the Arms and Belt
Create a black belt with paint around the bottom rim of the red coat on pot No. 3. Form two arms with a think line of black paint on the left and right sides of the red pot, if desired.
Step 9: Give the Pot a Face
Put a face on cream-colored pot No. 4 using black paint for eyes and eyebrows. Paint on a red mouth and red, rosy cheeks.
Step 10: Paint On the Details
Paint a gold buckle on the belt, the rim of the black hat and the front of each boot. Paint gold epaulets on the homemade nutcracker soldier's shoulders of the coat, if desired.
Step 11: Finish Your Christmas Nutcracker Soldier
Glue on a small strip of black or white craft fur to form a mustache on the soldier's face. Glue some black or white fur along the sides and back of the head just under the black hat to simulate hair. Glue gold buttons on the soldier's red coat to finish your homemade nutcracker soldier.
Video of the Day