Things You'll Need
Wreath form
Grapevines or evergreen branches (optional)
Twine, hot glue gun and/or cable ties (optional)
Ribbon
Florist’s wire
Flowers, pine cones, ornaments and other decorative items

A wreath can be used for almost any season of the year. Whether a woven grapevine or evergreen boughs, you can attach ribbon to wreath forms to match the décor, season or holiday. Decorate a wreath with spring flowers and colors for celebrations early in the year or with stars and stripes for Independence Day. Pine cones and fall items can adorn a wreath for fall.
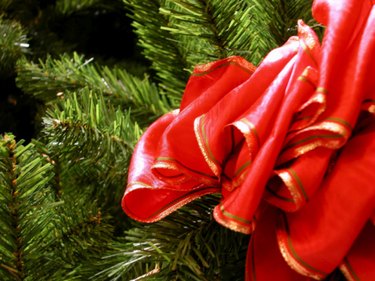
Hanging an evergreen wreath with holly berries and red bows on the front door is a tradition in the Christmas season. Add more wreaths inside the house, on inner doors or even use one as a centerpiece. No matter the occasion or season, weaving an appropriately colored ribbon through your wreath helps complete it.
Video of the Day
Step 1: Select a Wreath Form
Choose a wreath form that enables you to weave a ribbon in and out of it. Examples of good wreath forms for this are those made of dried grapevines or wire. You can find a variety of wreath forms at your local craft store or in the craft department of other stores.
Step 2: Make a Wreath
Gather grapevines, evergreen boughs and other natural materials if you can't find a wreath that suits your taste and décor at the craft store. Twist and shape the materials into a rough circular shape and secure with twine, hot glue or cable ties, which will be hidden by the decorations. It doesn't have to be a perfect circle, a rustic wreath should have a natural appearance.
Step 3: Buy the Ribbon
Buy a length of ribbon that equals three times the circumference of your wreath. You can always cut off excess. Wired ribbon is a good choice because you can shape it to hold its form in the wreath. Choose a color or pattern that reflects the theme of your wreath.
Step 4: Attach Ribbon to Wreath
Insert the end of the ribbon into the top of the wreath form from the front side and push it through to the back. Use a few inches of florist's wire to wire the end to the back of the wreath form.
Step 5: Weave the Ribbon
Poke the free end of the ribbon through the wreath form a few inches from the top and draw it through to the back. Reinsert the free end from the back an inch from its exit point and pull it back out the front side.
Step 6: Make a Pattern
Weave the ribbon through the wreath in your favored pattern. You can make your ribbon "stitches" diagonal to the wreath form so that more of the ribbon shows on the front of the form. Continue this stitching method all the way around the wreath. Leave excess ribbon on the front side and scrunch it into place for an abundant look.
Step 7: Secure the Ribbon
End the weave at the top where you started. Push the free end of the ribbon through the wreath form and secure it on the back with florist's wire.
Step 8: Add Decorative Elements
Wire other items to the wreath to fill out the form, such as flowers for spring or acorns and fall leaves for an autumn wreath. Affix some of the other items on top of the scrunched areas of ribbon.
Step 9: Finish With a Bow
Finish the ribbon decoration with a handmade bow at the top that will hide the ends of the ribbon.
Video of the Day