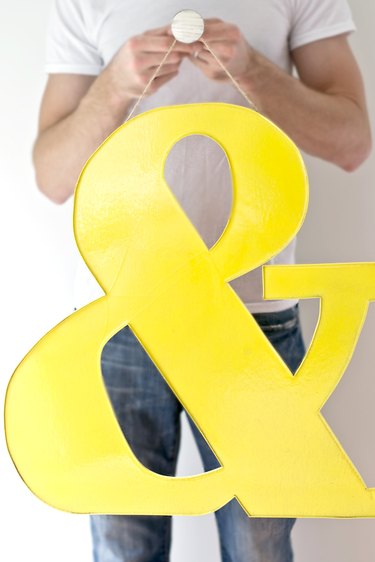
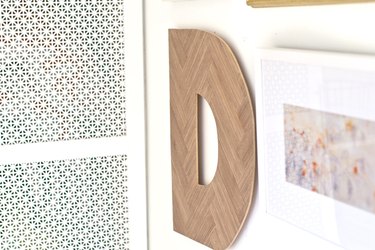
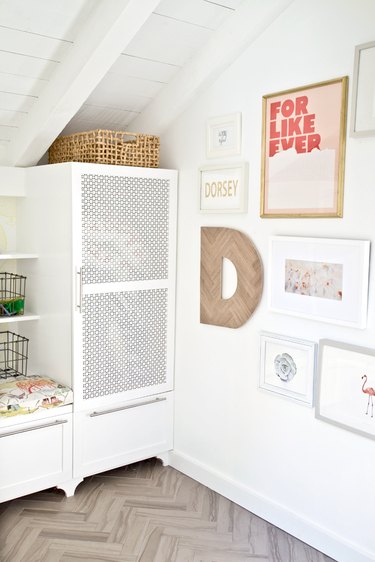
Decorative letters make the perfect addition to a gallery wall or a statement wall piece; however, they often don't come with hanging hardware, especially if you DIY your own. Included below are methods spanning from renter-friendly to practical to creative in order to ensure your wall art gets mounted properly and stylishly. Read on to find the solution that best fits the needs for your home.
Video of the Day
Method 1: Damage-Free, Picture-Hanging Strips
Apply picture-hanging strips to display your decor in a way that's renter-friendly. Typically, you place one to the back of the letter and one to the wall, but be sure to follow the instructions on the package for best results.
Video of the Day
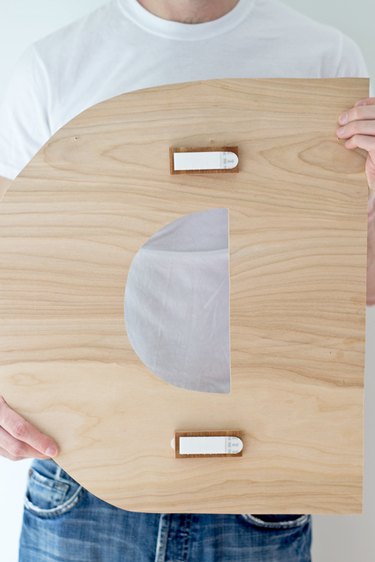
Also, consider adding thin wood blocks -- approximately 1 inch x 3 inches -- to the back of the letter to raise it off of the wall, providing dimension to your decor. Attach the wood blocks (quantity two: one to the top and one of the bottom) to the back of the letter with wood glue or an ordinary, damage-free wall strip. Then attach the picture hanging strips to the blocks. Don't worry, the measurements don't need to be precise.
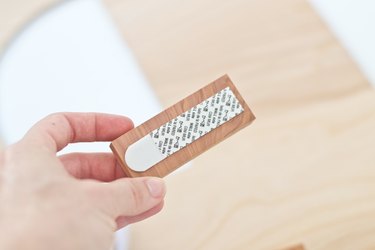
Tip
Picture hanging strips work best on clean, smooth walls.
Method 2: Traditional Sawtooth Hanger and Picture Hanger
On the back of the letter, measure the center of the top section, and then attach the sawtooth hanger using the provided hardware.
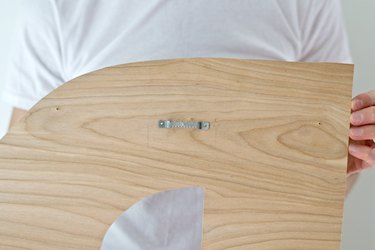

Measure the placement on the wall (account for the sawtooth hanger distance), and attach a picture hanger into the wall with a small tack hammer.
Method 3: Creative Rope and Knob Hanger
Find a knob designed to be attached to the wall (it will have two screws on the back plate), and rope, ribbon, twine or chain (about 12 inches long), and two small screws or D rings.


Attach two small screws to the back of the letter. Insert them into the letter just enough so it grabs the wood but doesn't go through the letter. Loop the end of the rope and tie to slide onto the head of the screw. Alternately, a D-ring can be used by attaching to the back of the letter with included hardware and tying the rope through the ring.
