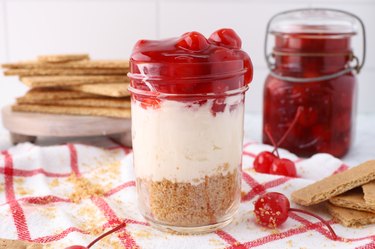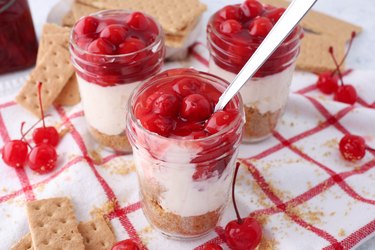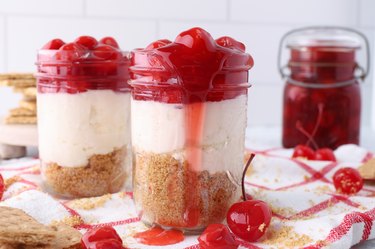
Looking for a fun, easy single-serve dessert for your next get-together? Then look no further! This recipe for no-bake cherry cheesecake in single-serve jars is the perfect sweet treat to serve to family and friends for any occasion!
Video of the Day
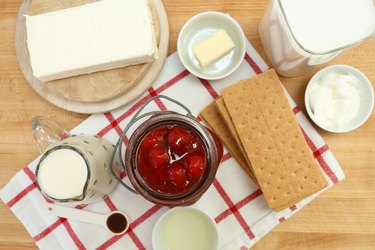
Things You'll Need
3 Tbsp. unsalted butter
1 cup graham cracker crumbs (8–9 graham crackers)
1 cup heavy whipping cream
8 oz. cream cheese, softened to room temperature
1/3 cup granulated sugar
2 Tbsp. sour cream
1 tsp. lemon juice
1/2 tsp. vanilla extract
1 21-oz. can cherry pie filling
4 8-oz. glass jars
1. Prepare the graham cracker crust
Add the graham crackers to a food processor and pulse until finely ground. If you don't have a food processor handy, place the graham crackers in a plastic baggie, close it well, and crush them with a rolling pin.
Video of the Day
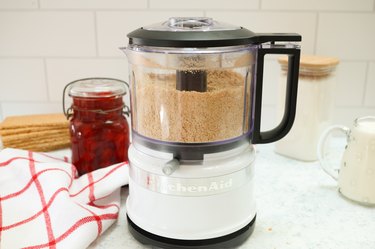
Next, add melted butter and pulse again until fully combined. Place the graham cracker mixture in a bowl and set it aside.

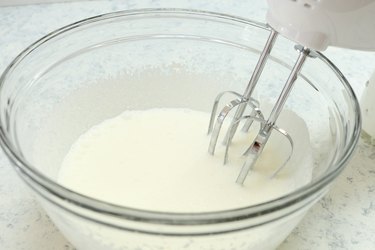
2. Make the whipped cream
Pour heavy whipping cream in a bowl and beat with a hand mixer for 3 to 4 minutes or until it thickens to the consistency of whipped cream. Set it aside.
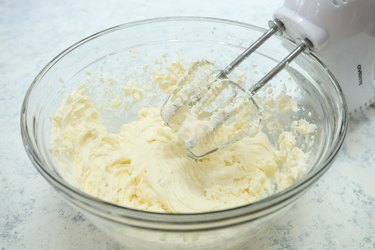
3. Make the cheesecake filling
Add the cream cheese, sugar, sour cream, lemon juice, and vanilla extract to a bowl. Beat it with a hand mixer until fully combined.
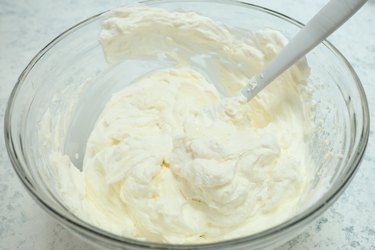
4. Mix the cheesecake mixture and whipped cream
Use a rubber spatula to fold the whipped cream into the cheesecake mixture until fully combined.
5. Assemble the cheesecake jars
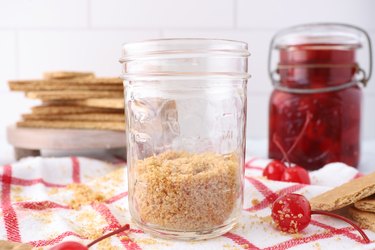
Add a couple of scoops of the graham cracker crust mixture to each jar.
Tip
Pack down the crust a bit by lightly tapping the jar on the countertop.
Add 2 scoops of the cheesecake mixture to each jar, leaving room for the cherry topping.

Add the cherry pie filling to the top of each jar.
Tip
These cherry cheesecake jars can be stored in the refrigerator for up to 3 days.