Things You'll Need
Roll of wired ribbon
Scissors
26-gauge bow-tying wire

Hand-tied bows made out of ribbon are perfect for adding a personal touch to gifts, floral arrangements or any decorative design. While there are many varieties of ribbon bows to choose from, they all follow the same basic pattern of looping and tying. Floral bows utilize an assortment of differently shaped loop sizes that gradually get smaller toward the center of the bow. With anywhere from four to 30 loops, a floral bow adds an extra special accent to any flower arrangement.
Step 1
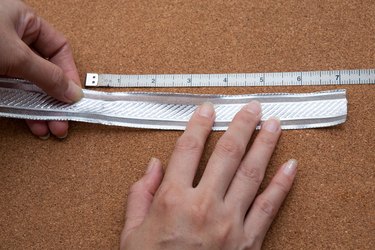
Measure the desired length for one side of the bow's tail from one end of a roll of wired ribbon. Depending on your desired use for the ribbon, you will need different tail lengths. For floral ribbons that will be tied around a flower vase, measure the tail length so it will fall just above the table after the bow is tied on to the vase.
Video of the Day
Step 2
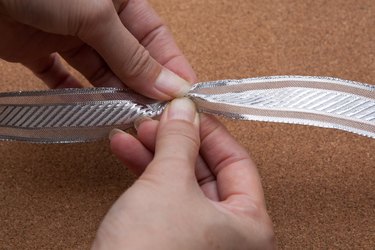
Pinch the ribbon at the point you measured for the tail length and hold your hand at that spot.
Step 3
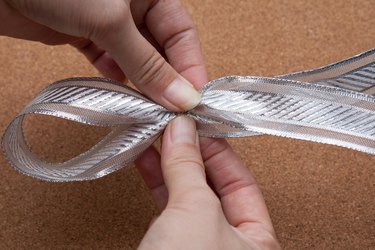
Create a loop by folding a portion of the ribbon back and pinching it with your hand in the same position that was measured for the first half of the tail.
Step 4
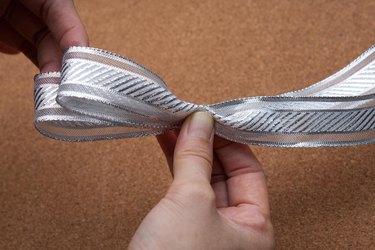
Create a second, smaller loop in the same fashion.
Step 5
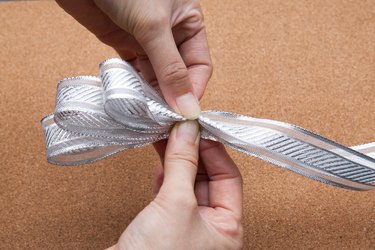
Continue creating smaller loops until you have half the number of loops desired for the end product.
Step 6
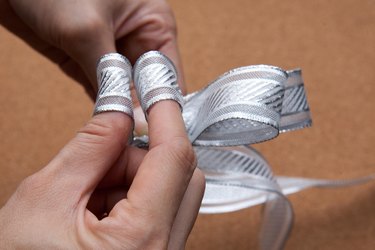
Create a loop equal in size to the last loop made.
Step 7
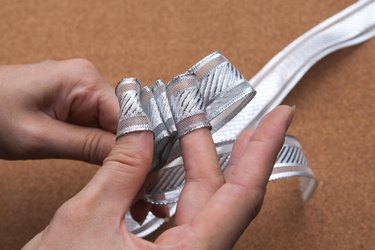
Continue making loops that gradually increase in size and mirror the sizes of the first half of the loops that were created.
Step 8
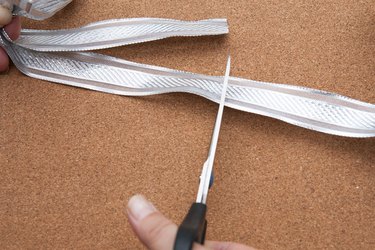
Measure, using the same tail length as earlier, from the edge of the last loop and cut the ribbon at that distance for the second half of the tail.
Step 9
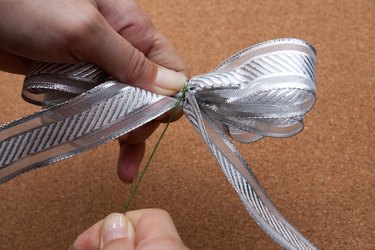
Secure the center of the bow by wrapping a piece of 26-gauge bow-tying wire around the pinched portions of the bow. Bow-tying wire can be purchased at any floral or craft store.
Step 10
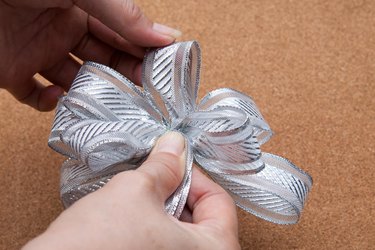
Fan out the loops so the bow is round or oval-shaped and the loop size gradually decreases from the outside to the center.
Step 11
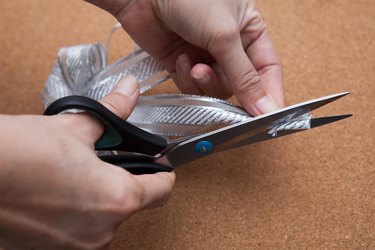
Cut a "V" into the ends of the tails to give the bow a professional, finished look. Alternatively, you can cut the ends of the tails on opposite angles to give the bow a symmetrical look.
Video of the Day