Things You'll Need
Tarp
Fine grit sandpaper
Dust mask
Safety glasses
Vacuum with soft brush attachment
Paint roller
Paint tray
Primer

Painting over glossy surfaces presents one problem: the very thing that creates the gloss makes the surface less porous, and harder for a new coat of paint to stick to it without peeling, bubbling or cracking. Whether the surface you want to repaint is semi-gloss or high-gloss, you'll have to "take down" the gloss by sanding or using a chemical deglosser. Sanding is harder work, but safer for the environment than using harsh chemicals.
Step 1
Spread out a tarp to cover furniture, rugs and floors. Put on a dust mask and safety glasses to protect yourself from paint and plaster particles.
Video of the Day
Step 2
Sand the wall from top to bottom, working in smooth, even strokes from the ceiling to the baseboard. Work in 2- to 3-foot sections. You don't have to sand every bit of shine from the gloss paint; just rough it up evenly.
Step 3
Vacuum the wall with a soft brush and hose attachment to suck up the dust and paint particles when you are done sanding. A vacuum with a HEPA filter is ideal for this task. Finish by wiping the wall surface with a damp cloth to pick up anything that remains.
Step 4
Pour a third of the can of primer into a paint tray. Cut in the corners, ceiling line and baseboard lines with a 3-inch trim brush. Wash out the trim brush and set it aside to dry.
Step 5
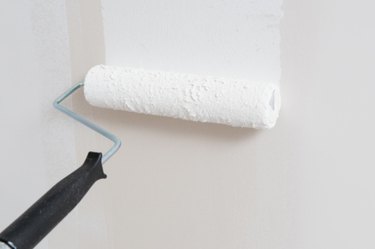
Roll the paint roller through the primer in the tray until it is well-coated. Roll it onto the wall in long, smooth, crossing strokes for uniform coverage. The primer will form a bond with the scuffed wall underneath and create a tacky surface to help your topcoat cling.
Tip
Put paint-covered brushes in resealable plastic bags if you want to use them on another wall later. They will keep without stiffening for up to two days in this manner.
Warning
Ventilate your workspace properly when using paints, primers, or sanding equipment. Open windows and doors, and turn on fans to keep air moving.
Video of the Day