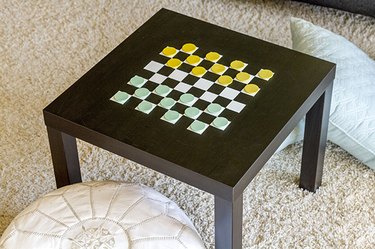
Family game night is a tradition that people of all ages can enjoy. All you need to transform an everyday side table into a game table fit for checkers (or chess) is simply paint, masking tape and wooden discs to make your own game pieces.
Assemble Your Table
Video of the Day
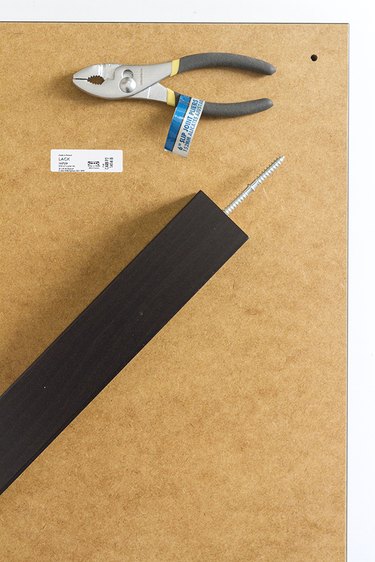
If you've purchased a new table for the project, assemble it according to its manufacturer's instructions with the help of a basic tools, such as pliers and screwdrivers.
Video of the Day
Measure and Mark the Game Board
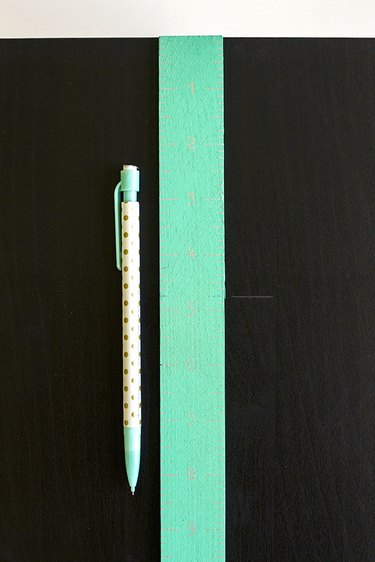
You'll need a little math to determine the measurement of your game board squares. In this case, the squares were 1 1/2 inches by 1 1/2 inches, making the game board measure 12 inches based on an 8-squares-by-8-squares board. Because the table itself measured 21 1/2 inches square, the game board would sit inset 4 3/4 inches on all four sides. Make two marks using a pencil on each of the four sides, 4 3/4 inches from the edge and about 6 inches apart.
Complete the Game Board Perimeter
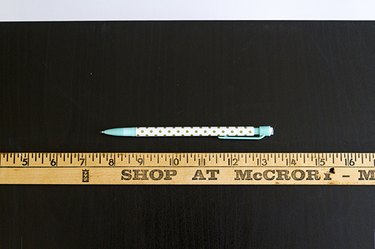
Go back with a straightedge and pencil to connect the two marks along all four sides to denote the completed game board perimeter.
Finish the Game Board Grid in Pencil
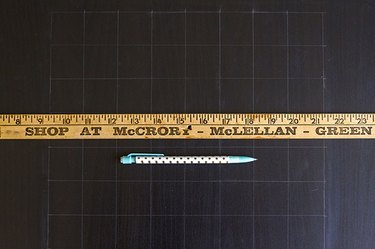
Line up a ruler on each of the four outside lines of the board and make marks with a pencil every 1 1/2 inches. Then use a straightedge to connect the top marks with the bottom marks and the left marks with the right ones. This completes the foundation of the game board.
Paint the First Set of Squares
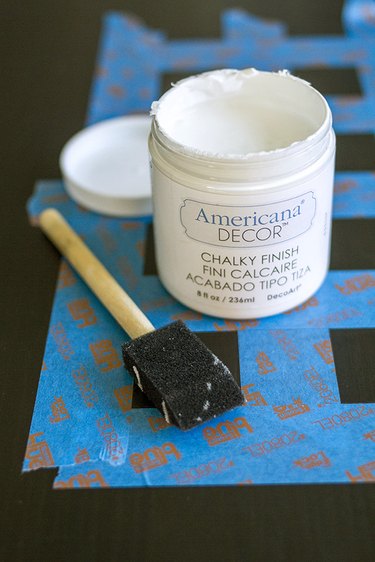
Use painter's tape to mask off the first section of squares in the grid. Match the width of your tape to the width of your desired squares to make things easier. So, in this case, the painter's tape was already 1 1/2 inches wide. Paint the exposed squares white using acrylic or chalk paint with a foam paintbrush. You will need to paint two to four coats, depending on your paint. Remove the tape immediately and allow the paint to dry overnight.
Paint the Second Set of Squares
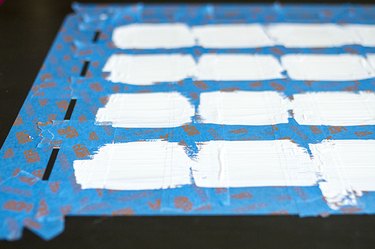
Lay masking tape down again, this time right on top of the first set of gridded painted squares. This will leave exposed the second half of gridded game board squares. Press your fingertips firmly over the tape to ensure even lines in the end, and then paint another two to four coats of white paint on the newly exposed squares. Remove and discard the tape, and allow the game table to dry overnight.
Paint Your Game Pieces
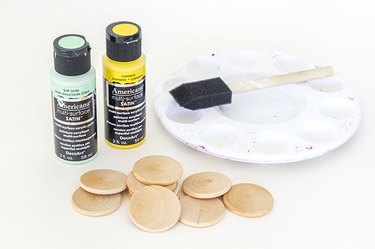
Paint 24 wooden discs in two coordinating colors (12 in each color) using a foam paintbrush and either acrylic or chalk paint. These are your game pieces. Allow the painted discs to dry overnight.
Play a Game of Checkers
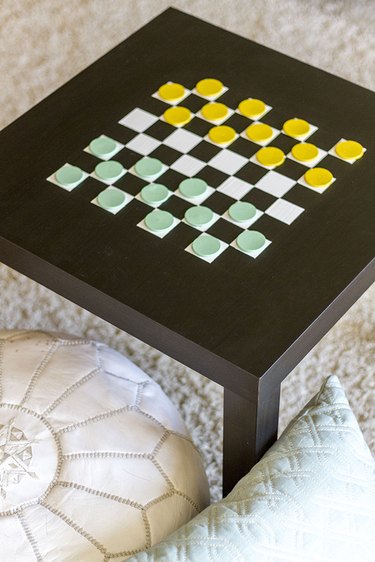
When everything is dry, lay the game pieces in place on the game table and enjoy your first game of checkers on the newly crafted table. When not in play, put the game pieces into a box or drawer, and place coasters on the table for everyday use.